AstroPaper 是一个高度可定制的 Astro 博客主题。使用 AstroPaper,你可以根据个人喜好定制一切。本文将解释如何在配置文件中轻松进行一些自定义设置。
目录
配置 SITE
重要的配置位于 src/config.ts 文件中。在该文件中,你会看到 SITE 对象,你可以在其中指定网站的主要配置。
在开发过程中,SITE.website 留空是可以的。但在生产模式下,你应该在 SITE.website 选项中指定你部署的 URL,因为这将用于规范 URL、社交卡片 URL 等,这些对 SEO 很重要。
export const SITE = {
  website: "https://astro-paper.pages.dev/", // 替换为你部署的域名
  author: "Sat Naing",
  profile: "https://satnaing.dev/",
  desc: "A minimal, responsive and SEO-friendly Astro blog theme.",
  title: "AstroPaper",
  ogImage: "astropaper-og.jpg",
  lightAndDarkMode: true,
  postPerIndex: 4,
  postPerPage: 4,
  scheduledPostMargin: 15 * 60 * 1000, // 15 分钟
  showArchives: true,
  showBackButton: true, // 在文章详情页显示返回按钮
  editPost: {
    enabled: true,
    text: "Suggest Changes",
    url: "https://github.com/satnaing/astro-paper/edit/main/",
  },
  dynamicOgImage: true, // 启用自动动态 og-image 生成
  dir: "ltr", // "rtl" | "auto"
  lang: "en", // html lang 代码。留空则默认为 "en"
  timezone: "Asia/Bangkok", // 默认全局时区 (IANA 格式) https://en.wikipedia.org/wiki/List_of_tz_database_time_zones
} as const;src/config.ts
以下是 SITE 配置选项
| 选项 | 描述 |
|---|---|
website | 你部署的网站 URL |
author | 你的名字 |
profile | 你的个人/作品集网站 URL,用于更好的 SEO。如果没有,请填 null 或空字符串 ""。 |
desc | 你的网站描述。用于 SEO 和社交媒体分享。 |
title | 你的网站名称 |
ogImage | 网站的默认 OG 图片。用于社交媒体分享。OG 图片可以是外部图片 URL,也可以放在 /public 目录下。 |
lightAndDarkMode | 为网站启用或禁用 light & dark mode(明暗模式)。如果禁用,将使用主配色方案。此选项默认启用。 |
postPerIndex | 主页 Recent(最近)部分显示的文章数量。 |
postPerPage | 你可以指定每个文章页面显示多少篇文章。(例如:如果你将 SITE.postPerPage 设置为 3,每个页面将只显示 3 篇文章) |
scheduledPostMargin | 在生产模式下,具有未来 pubDatetime 的文章将不可见。但是,如果文章的 pubDatetime 在接下来的 15 分钟内,它将可见。如果你不喜欢默认的 15 分钟裕量,可以设置 scheduledPostMargin。 |
showArchives | 决定是否在网站上显示 Archives(归档)菜单(位于 About 和 Search 菜单之间)及其对应页面。此选项默认为 true。 |
showBackButton | 决定是否在每篇博客文章中显示 Go back(返回)按钮。 |
editPost | 此选项允许用户通过在博客文章标题下提供编辑链接来建议更改。可以通过将 SITE.editPost.enabled 设置为 false 来禁用此功能。 |
dynamicOgImage | 此选项控制当博客文章前言中未指定 ogImage 时是否生成动态 og-image。如果你有很多博客文章,可能需要禁用此功能。有关更多详细信息,请参阅权衡。 |
dir | 指定整个博客的文本方向。用作 <html dir="ltr"> 中的 HTML dir 属性。支持值:ltr | rtl | auto |
lang | 用作 <html lang"en"> 中的 HTML ISO 语言代码。默认为 en。 |
timezone | 此选项允许你使用 IANA 格式指定时区。设置此项可确保本地主机和部署站点的时间戳一致,消除时间差异。 |
更新布局宽度
整个博客的默认 max-width 是 768px(max-w-3xl)。如果你想更改它,可以轻松在 global.css 中更新 max-w-app 工具类。例如:
@utility max-w-app {
  @apply max-w-3xl;
  @apply max-w-4xl xl:max-w-5xl;
}src/styles/global.css
你可以在 Tailwind CSS 文档 中探索更多 max-width 值。
配置 Logo 或标题
在 AstroPaper v5 之前,你可以在 src/config.ts 文件内的 LOGO_IMAGE 对象中更新站点名称/logo。但是,在 AstroPaper v5 中,此选项已被移除,取而代之的是 Astro 内置的 SVG 和 Image 组件。
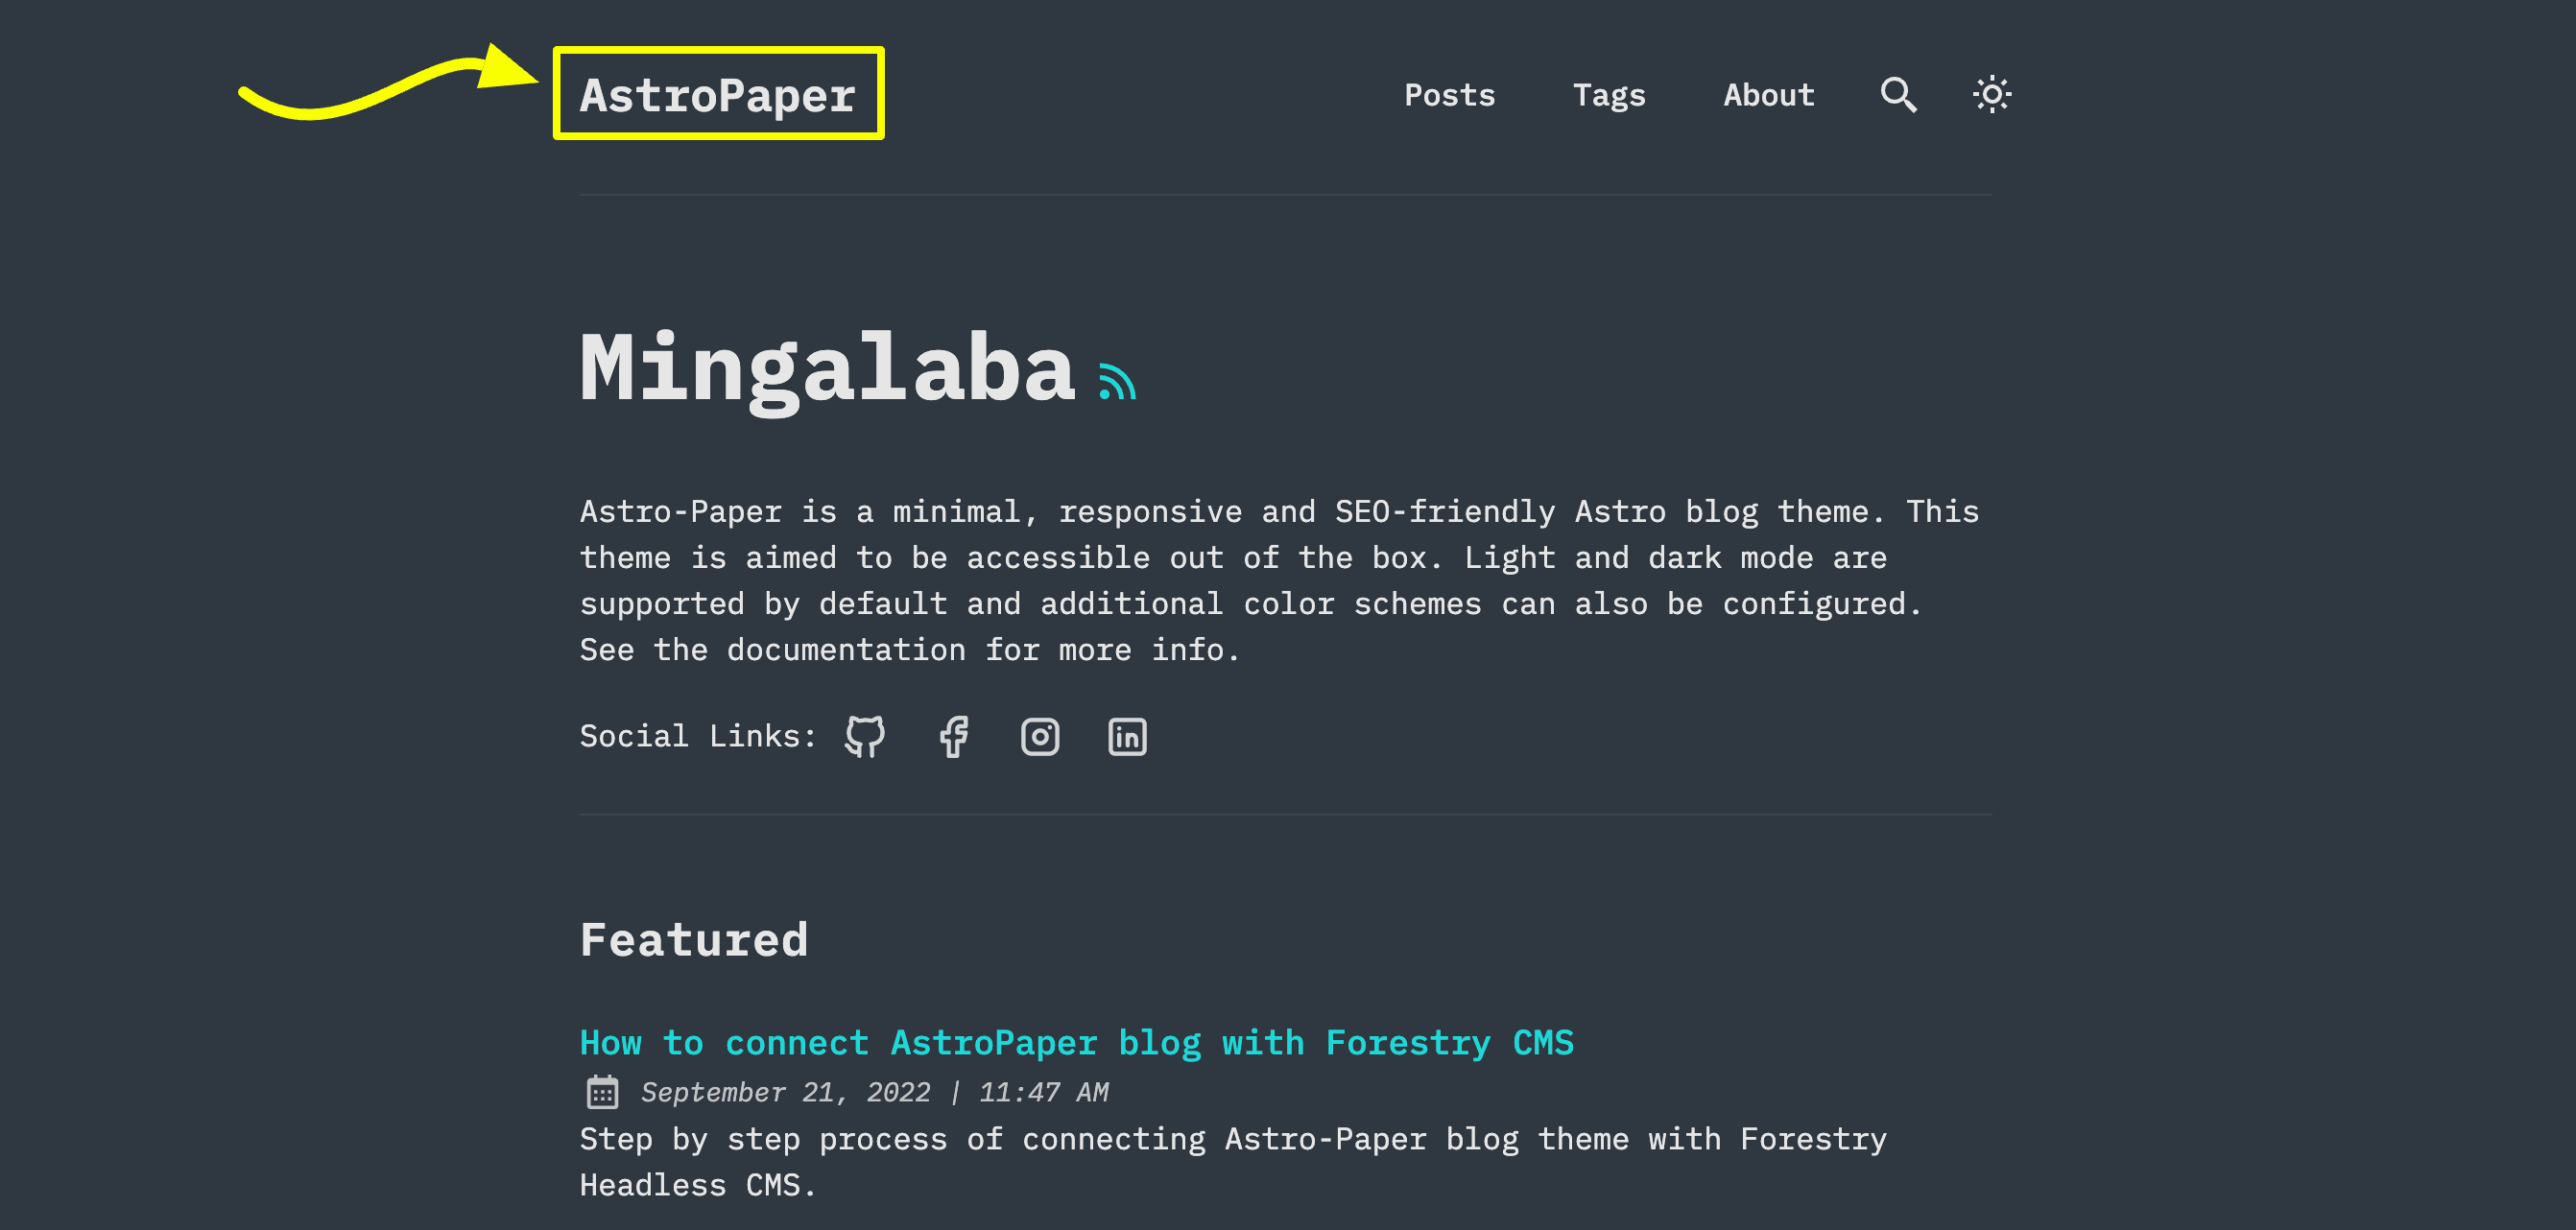 你有 3 种选择:
选项 1:SITE 标题文本
这是最简单的选项。你只需在 src/config.ts 文件中更新 SITE.title。
选项 2:Astro 的 SVG 组件
如果你想使用 SVG logo,你可能需要使用此选项。
- 首先在
src/assets目录中添加一个 SVG。(例如:src/assets/dummy-logo.svg) - 然后在
Header.astro中导入该 SVG
---
// ...
import DummyLogo from "@/assets/dummy-logo.svg";
---src/components/Header.astro- 最后,将
{SITE.title}替换为导入的 logo。
<a
  href="/"
  class="absolute py-1 text-left text-2xl leading-7 font-semibold whitespace-nowrap sm:static"
>
  <DummyLogo class="scale-75 dark:invert" />
  <!-- {SITE.title} -->
</a>
这种方法最棒的地方在于你可以根据需要自定义 SVG 样式。在上面的示例中,你可以看到如何在深色模式下反转 SVG logo 颜色。
选项 3:Astro 的 Image 组件
如果你的 logo 是图片但不是 SVG,你可以使用 Astro 的 Image 组件。
- 在
src/assets目录中添加你的 logo。(例如:src/assets/dummy-logo.png) - 在
Header.astro中导入Image和你的 logo
---
// ...
import { Image } from "astro:assets";
import dummyLogo from "@/assets/dummy-logo.png";
---src/components/Header.astro- 然后,将
{SITE.title}替换为导入的 logo。
<a
  href="/"
  class="absolute py-1 text-left text-2xl leading-7 font-semibold whitespace-nowrap sm:static"
>
  <image src="{dummyLogo}" alt="Dummy Blog" class="dark:invert" />
  <!-- {SITE.title} -->
</a>
使用这种方法,你仍然可以使用 CSS 类调整图片的外观。但是,这可能并不总是符合你的要求。如果你需要根据浅色或深色模式显示不同的 logo 图片,请查看 Header.astro 组件内是如何处理浅/深色图标的。
配置社交链接
你可以在
constants.ts 内的 SOCIALS 对象中配置社交链接。
export const SOCIALS = [
  {
    name: "GitHub",
    href: "https://github.com/satnaing/astro-paper",
    linkTitle: ` ${SITE.title} on GitHub`,
    icon: IconGitHub,
  },
  {
    name: "X",
    href: "https://x.com/username",
    linkTitle: `${SITE.title} on X`,
    icon: IconBrandX,
  },
  {
    name: "LinkedIn",
    href: "https://www.linkedin.com/in/username/",
    linkTitle: `${SITE.title} on LinkedIn`,
    icon: IconLinkedin,
  },
  {
    name: "Mail",
    href: "mailto:yourmail@gmail.com",
    linkTitle: `Send an email to ${SITE.title}`,
    icon: IconMail,
  },
] as const;src/constants.ts
配置分享链接
你可以在 src/constants.ts 内的 SHARE_LINKS 对象中配置分享链接。
配置字体
AstroPaper 使用 Astro 的实验性字体 API,默认字体为 Google Sans Code。这提供了跨平台一致的排版,并包含预加载和缓存等自动字体优化。
使用默认字体
字体已在 astro.config.ts 中自动配置并在 Layout.astro 中加载。使用默认的 Google Sans Code 字体无需额外配置。
自定义字体
要使用不同的字体,你需要更新三个地方:
- 更新
astro.config.ts中的字体配置:
import { defineConfig, fontProviders } from "astro/config";
export default defineConfig({
  // ...
  experimental: {
    fonts: [
      {
        name: "Your Font Name",
        cssVariable: "--font-your-font",
        provider: fontProviders.google(),
        fallbacks: ["monospace"],
        weights: [300, 400, 500, 600, 700],
        styles: ["normal", "italic"],
      },
    ],
  },
});astro.config.ts- 更新
Layout.astro中的 Font 组件:
---
import { Font } from "astro:assets";
// ...
---

<head>
  <!-- ... -->
  <Font
    cssVariable="--font-your-font"
    preload={[{ subset: "latin", weight: 400, style: "normal" }]}
  />
  <!-- ... -->
</head>src/layouts/Layout.astro- 更新
global.css中的 CSS 变量映射:
@theme inline {
  --font-app: var(--font-your-font);
  --color-background: var(--background);
  --color-foreground: var(--foreground);
  --color-accent: var(--accent);
  --color-muted: var(--muted);
  --color-border: var(--border);
}src/styles/global.css
--font-app 变量通过 font-app Tailwind 工具类在整个主题中使用,因此更新此单个变量将随处应用你的自定义字体。
注意:确保字体名称与 Google Fonts 上显示的完全一致。对于其他字体提供商或本地字体,请参阅 Astro Experimental Fonts API 文档。
结语
这是关于如何自定义此主题的简要说明。如果你懂一些代码,还可以进行更多自定义。关于自定义样式,请阅读这篇文章。 感谢阅读。✌🏻